
Understanding Your Leather Coat Before Cleaning
A quality leather coat is more than just a fashion statement—it’s an investment that can last for years or even decades with proper care. Understanding your specific type of leather is the first step to effective cleaning and maintenance.
Different leather types require different cleaning approaches:
- Smooth/Finished Leather: Has a protective coating that makes it somewhat water-resistant and easier to clean
- Aniline Leather: Dyed with soluble dyes without a surface coating, showing the natural grain and feeling soft but more vulnerable to stains
- Semi-Aniline Leather: Has a light protective coating while still showing natural grain
- Suede: Has a napped, fuzzy surface that’s extremely sensitive to water and liquid cleaners
- Nubuck: Similar to suede but with a shorter nap and slightly more durability
- Patent Leather: Features a high-gloss finish with unique cleaning requirements
Before attempting any cleaning, always check the manufacturer’s label inside your coat. These labels often provide specific care instructions tailored to your garment’s exact materials.
You can determine your leather type with a simple water test: place a small drop of water on an inconspicuous area of your coat. On finished leather, water will bead up temporarily. On aniline or natural leather, it will absorb quickly. Never perform this test on suede or nubuck.
Implementing proper leather coat care maintenance from the beginning significantly extends your coat’s lifespan and preserves its appearance.
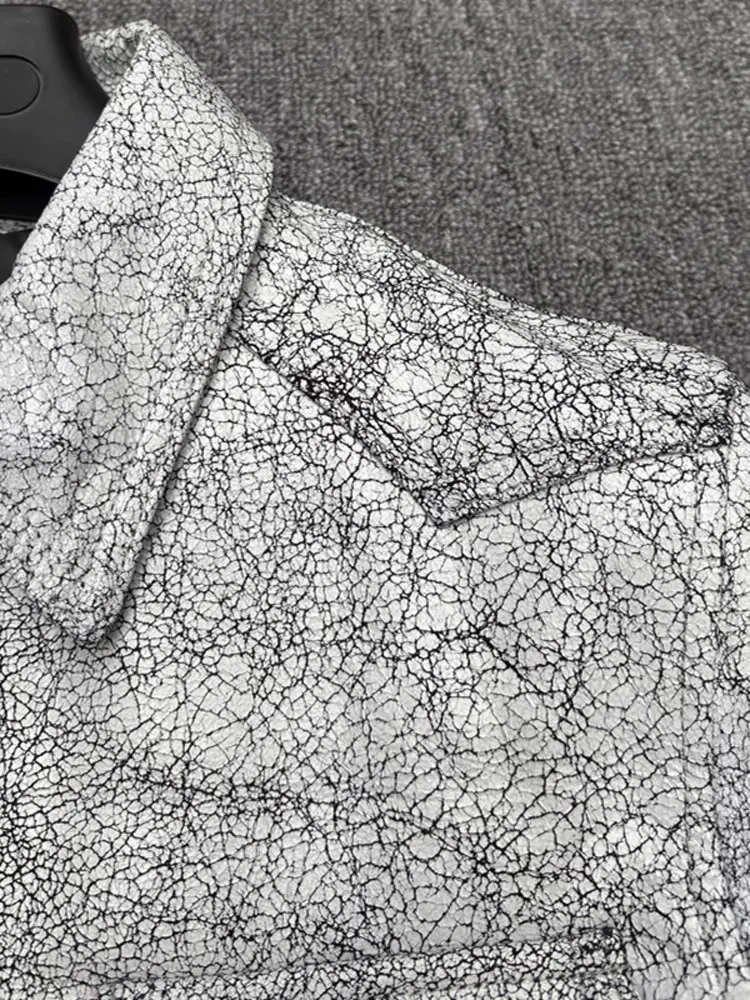
Looking at your coat’s texture and finish can help identify what you’re working with. The mens leather coat styles available today feature various leather types that each have distinct characteristics and cleaning needs.
Essential Supplies for Cleaning Leather at Home
Before beginning the cleaning process, gather all necessary supplies to ensure you can complete the job without interruption:
Basic supplies for all leather types:
– Soft microfiber cloths (at least 3-4)
– Soft-bristled brush for dusting
– Mild, pH-neutral soap (like Dove or saddle soap)
– Distilled water
– Empty spray bottle
– Wide, padded clothes hangers
For specific leather types:
– Suede/nubuck brush (for suede and nubuck only)
– Suede eraser or clean pencil eraser
– Leather conditioner appropriate for your leather type
– Specialized leather cleaner (optional)
Household alternatives that are safe:
– White vinegar (diluted) for odor treatment
– Cornstarch or baking soda for oil stains
– Leather-safe moisturizing soap
Many types leather cleaners coats are available commercially, but simple solutions often work just as well. Avoid common household cleaners like ammonia, bleach, or standard detergents as these can permanently damage leather.
Microfiber cloths are essential because they don’t leave lint behind and are gentle enough to prevent scratching the leather surface. Keep separate cloths for applying cleaner and for drying to avoid spreading dirt.
Preparing Your Leather Coat for Cleaning
Proper preparation prevents many common leather cleaning mistakes and ensures better results.
Empty all pockets and remove any detachable parts like belts or fur collars that might require separate cleaning approaches.
Find a clean, well-ventilated workspace with good natural light so you can clearly see what you’re doing.
Thoroughly dust the entire coat using a soft brush or dry microfiber cloth. Pay special attention to seams, folds, and crevices where dust accumulates. This step removes surface particles that could scratch the leather during wet cleaning.
Hang your coat on a wide, padded hanger to inspect it thoroughly. Look for specific stains, scuffs, or problem areas that may need targeted treatment.
Always perform a patch test before applying any cleaning solution to your coat. Choose an inconspicuous area (like the inside of a hem or inside pocket flap) and apply a small amount of your cleaning solution. Wait 30-60 minutes to check for adverse reactions like discoloration or texture changes.
Many mens black leather coat styles require extra caution during cleaning to preserve their rich color without causing fading or discoloration.
Only proceed with full cleaning if your patch test shows no negative reactions. This careful preparation might seem time-consuming, but it prevents potential damage to your valuable garment.
General Cleaning Method: The Soap and Water Approach
For regular cleaning of finished leather coats, a simple soap and water solution is often the safest and most effective method.
Step 1: Create the cleaning solution
Mix 1 teaspoon of mild, pH-neutral soap with 1 quart (1 liter) of distilled water. Tap water can contain minerals that might leave deposits on your leather.
Step 2: Prepare your cleaning cloth
Dip a clean microfiber cloth into the solution and wring it out thoroughly. The cloth should feel barely damp—not wet. Excess moisture can saturate the leather and cause damage.
Step 3: Clean in sections
Work on one small section at a time, using gentle circular motions. Follow the natural grain of the leather when possible. Never scrub aggressively, as this can damage the leather’s surface.
Step 4: Remove soap residue
After cleaning each section, use a fresh damp cloth with plain distilled water to wipe away any soap residue. Soap left behind can dry out and damage leather over time.
Step 5: Dry properly
Pat (don’t rub) the cleaned areas with a dry microfiber cloth to absorb excess moisture. Allow the coat to air dry completely away from direct heat or sunlight.
This entire process typically takes 30-45 minutes for a thorough cleaning, followed by drying time. After cleaning, applying proper leather coat conditioning expert tips helps restore moisture that cleaning may have removed.
Using Commercial Leather Cleaners Effectively
While soap and water works for basic cleaning, commercial leather cleaners offer advantages for deeper cleaning or stubborn stains.
When selecting a commercial cleaner, match the product to your specific leather type. Products designed for finished leather won’t work properly on suede, and vice versa. Always read labels carefully—look for pH-balanced formulas free from harsh solvents, alcohol, or ammonia.
Commercial cleaners typically come in three forms:
– Creams: Good for conditioning while cleaning
– Liquids: Effective for general cleaning and usually faster-drying
– Foams: Provide controlled application with less moisture
Application techniques vary by product formulation:
- For creams and liquids, apply a small amount to a clean cloth rather than directly onto the leather.
- Use gentle circular motions, working in small sections.
- Allow the product to work for the manufacturer-recommended time (usually just a few minutes).
- Buff with a clean, dry cloth following the manufacturer’s instructions.
Commercial cleaners often work faster than DIY methods but cost more. They’re particularly valuable for mens sheepskin coat care, as sheepskin requires specific products that balance cleaning with maintaining the natural oils in the material.
Always test commercial products in an inconspicuous area first, even if they’re specifically marketed for your leather type.
Tackling Common Stains on Leather Coats
Different types of stains require specific treatments for successful removal:
Water Spots/Rain Marks
– Wipe the entire panel with a slightly dampened cloth to even out the water distribution
– Allow to dry naturally, then condition
Oil and Grease
– Blot excess immediately (don’t rub)
– Apply cornstarch or talcum powder to absorb the oil
– Let sit for 4-8 hours or overnight
– Brush away powder and repeat if necessary
– Clean with leather soap solution
Ink Stains
– Blot (don’t rub) with a cotton ball dampened with 70% isopropyl alcohol
– Work from outside of stain inward
– Consider professional help for serious ink stains
– Clean area with leather soap solution afterward
Food and Drink Stains
– Blot immediately with dry cloth
– Wipe with damp cloth using leather soap solution
– Dry immediately
Mold and Mildew
– Take coat outdoors to prevent spreading spores
– Use 1:1 white vinegar and water solution on a cloth
– Wipe affected areas gently
– Dry thoroughly and condition
The golden rules for stain removal are: act quickly, blot don’t rub, and always follow with proper conditioning. For valuable coats, when in doubt, consult a professional.
After removing stains, applying how to waterproof leather coat techniques can help prevent future water damage and staining.
Special Care: Cleaning Suede and Nubuck Leather
Suede and nubuck require completely different cleaning approaches than smooth leather. Their napped surface is extremely vulnerable to water damage and traditional cleaning methods.
Essential tools for suede care:
– Suede brush (with rubber or crepe surface on one side)
– Suede eraser or clean pencil eraser
– Specialized suede cleaner (never use water-based cleaners)
For basic cleaning:
1. Use the suede brush to gently brush the entire surface, always brushing in the same direction to maintain a uniform appearance.
2. For small stains and marks, use the suede eraser with light pressure to avoid damaging the nap.
3. For stubborn stains, use a specialized suede cleaner strictly following the product instructions.
NEVER apply water, soap solutions, or liquid cleaners to suede or nubuck—these will permanently damage the texture and finish. Even water spots can cause permanent discoloration on suede.
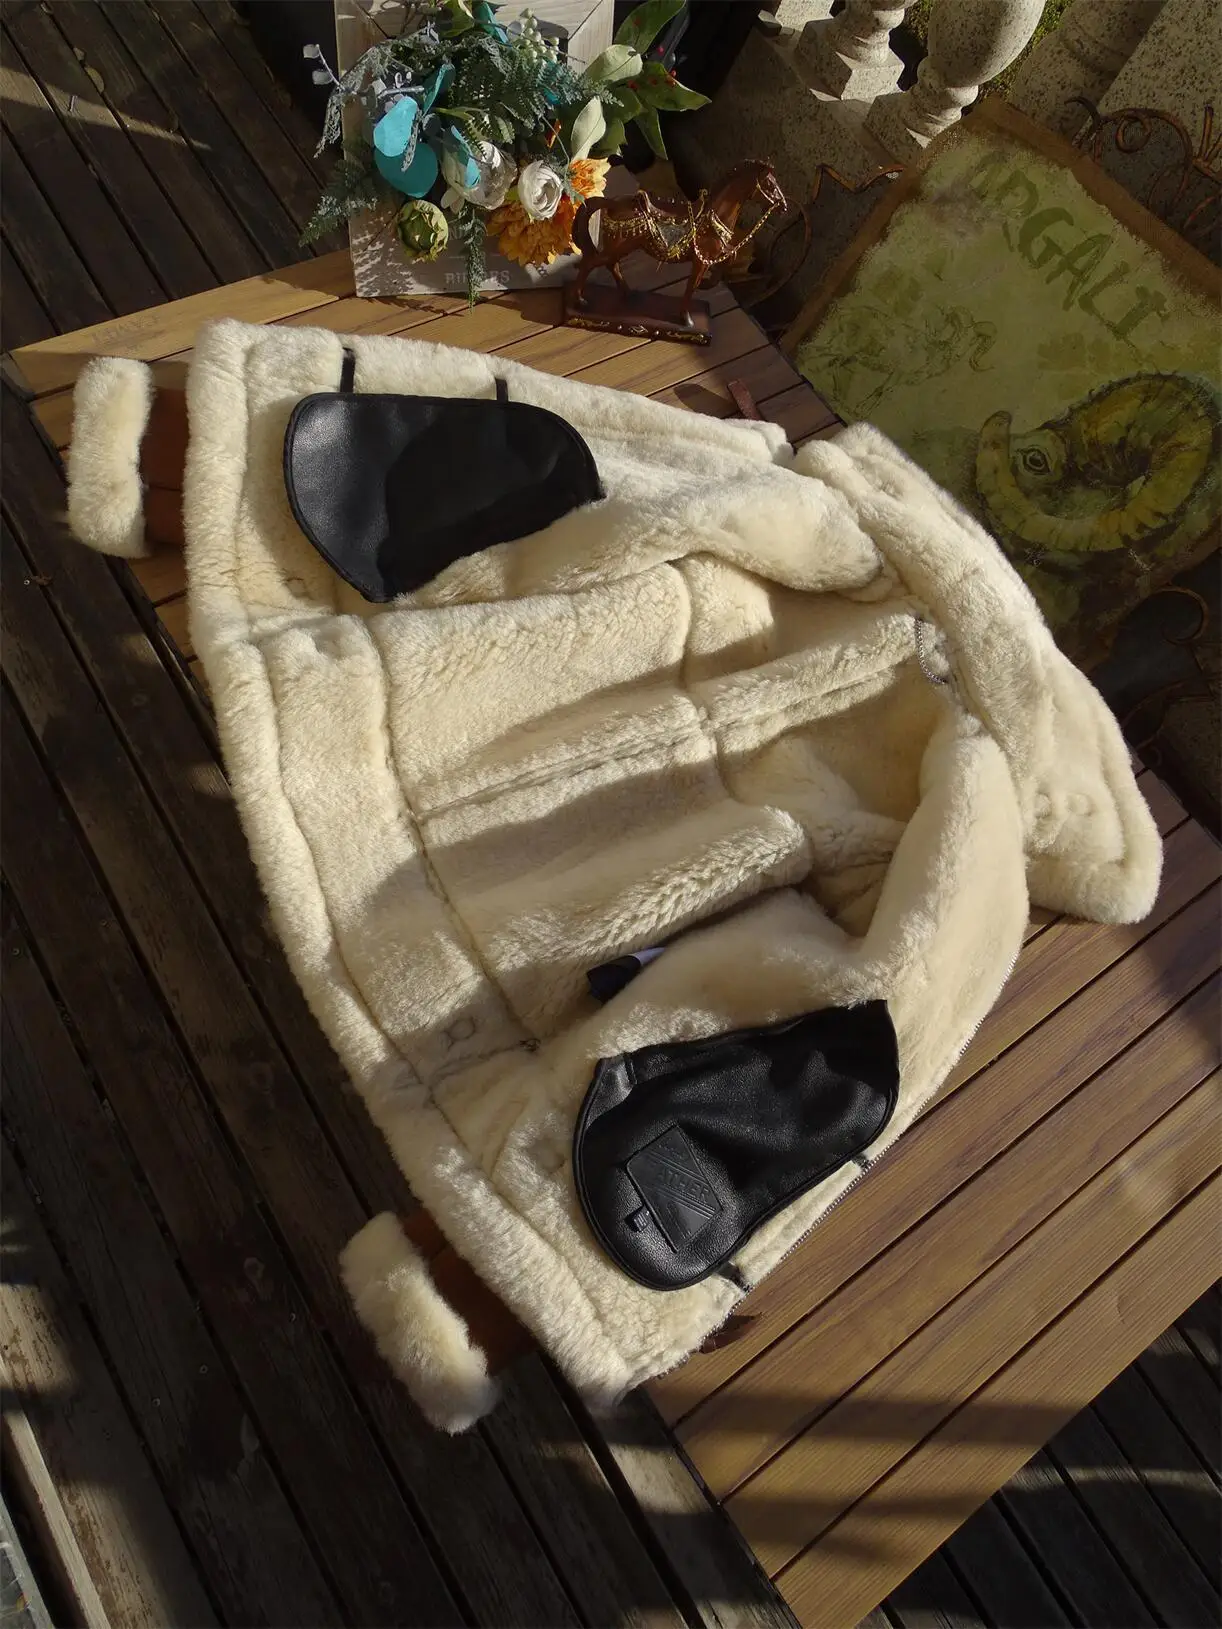
For mens shearling coat cleaning, the same careful approach applies, as the suede portion requires special attention while the wool interior has its own cleaning needs.
After cleaning suede, always brush again to restore the nap and maintain its characteristic texture.
Properly Cleaning the Inside Lining of Your Coat
The lining of your leather coat needs regular cleaning too, as it absorbs body oils and odors. Different lining materials require different approaches:
Cotton or Polyester Linings:
– Spot clean with a solution of mild detergent and water (1 teaspoon to 2 cups)
– Apply with a cloth dampened (not wet) with the solution
– Blot rather than rub
– Follow with a clean damp cloth to remove soap residue
– Allow to dry completely before wearing
Silk or Delicate Linings:
– Use only specialized silk cleaners or consult a professional
– Test any product in a hidden area first
– Use extremely gentle motions to prevent damage
For odor treatment:
– Hang coat in fresh air for 24 hours
– For persistent odors, lightly sprinkle baking soda on the lining, let sit overnight, then brush or vacuum away
When cleaning the lining, be extremely careful to keep cleaning solutions away from the leather exterior. Place a clean dry towel between the lining and leather to protect the leather from moisture.

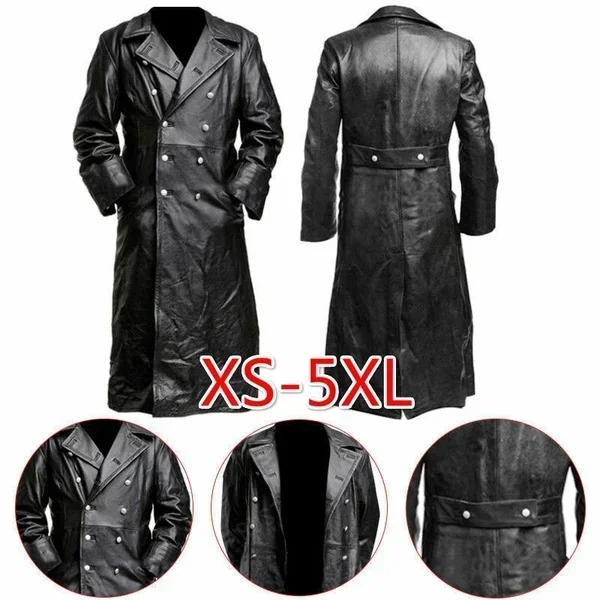
Mens Leather Coat, Mens Long Leather Coat
Price range: $225.22 through $235.58 Select options This product has multiple variants. The options may be chosen on the product page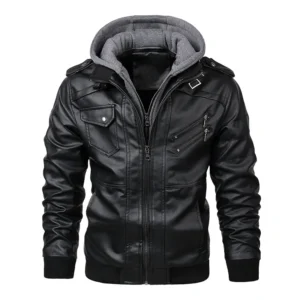

Mens Black Leather Coat, Mens Leather Coat
Price range: $181.52 through $197.20 Select options This product has multiple variants. The options may be chosen on the product page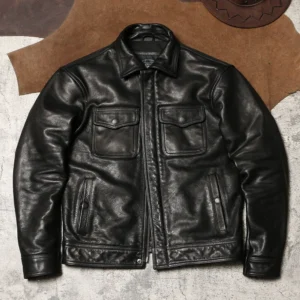
Mens Brown Leather Coat, Mens Leather Coat
$846.94 Select options This product has multiple variants. The options may be chosen on the product page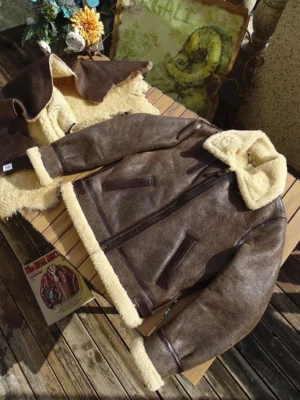
Mens Shearling Coat, Mens Sheepskin Coat
$888.08 Select options This product has multiple variants. The options may be chosen on the product page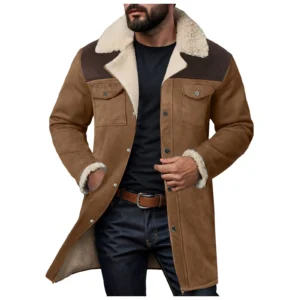 Price range: $96.28 through $130.88 Select options This product has multiple variants. The options may be chosen on the product page
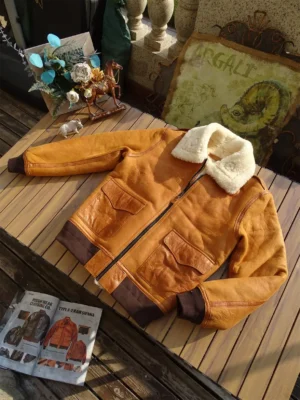
Mens Shearling Coat, Mens Sheepskin Coat
$2,257.19 Select options This product has multiple variants. The options may be chosen on the product page
The Critical Drying Process: Protecting Your Leather’s Shape and Texture
Proper drying is just as important as proper cleaning. Mistakes during the drying phase can cause permanent damage to even the highest quality leather.
Hang your coat on a wide, padded hanger to maintain its shape during drying. Wire hangers can create shoulder dimples or stretching.
Keep the coat at room temperature (60-75°F/15-24°C) with moderate humidity. Never use heat sources like hair dryers, radiators, or direct sunlight to speed drying.
Maintain at least 3 feet (1 meter) distance from any heat sources, including heating vents.
Allow the coat to dry naturally for 24-48 hours depending on humidity levels. Rushing this process risks trapping moisture inside the leather.
Check for complete dryness by touching inconspicuous areas—the leather should feel room temperature and not cool to the touch.
Smooth out any wrinkles or creases with your hands while the leather is drying to prevent permanent creasing.
Once fully dry, your coat needs conditioning to replace moisture lost during cleaning. Following proper expert guide long-term leather coat storage practices will help maintain your coat’s condition between seasons.
Conditioning and Protecting After Cleaning
Cleaning strips natural oils from leather, making conditioning an essential follow-up step to prevent drying and cracking.
Why conditioning matters:
Leather is skin that needs moisture to remain supple and resist cracking. Conditioning replaces these natural oils and extends your coat’s lifespan dramatically.
Choosing the right conditioner:
– For finished leather: Any quality leather conditioner
– For aniline leather: Natural-based conditioners with minimal additives
– For oil-tanned leather: Specialized oil-based conditioners
– NEVER use conditioners on suede or nubuck
Application process:
1. Ensure the coat is completely dry from cleaning
2. Apply a pea-sized amount of conditioner to a soft cloth
3. Work into leather using gentle circular motions
4. Apply to small sections at a time, avoiding over-saturation
5. Allow to absorb for 20-30 minutes
6. Buff gently with a clean cloth to remove excess
7. Let the coat rest for 6-12 hours before wearing
Properly conditioned leather should feel softer and look richer in color, but not feel greasy. For specialized conditioning guidance, many leather enthusiasts follow specific oil your leather jacket complete guide techniques depending on their leather type.
For coats worn in wet or snowy conditions, consider a leather weatherproofing product after conditioning is complete.
Essential Dos and Don’ts of Leather Coat Care
DO:
– Dust and wipe down your coat regularly with a soft cloth
– Address spills and stains immediately
– Use appropriate cleaners for your specific leather type
– Test all products on an inconspicuous area first
– Condition after cleaning to restore moisture
– Store properly on padded hangers when not in use
– Allow ample ventilation when storing for long periods
– Keep leather away from direct sunlight during storage
– Use a garment bag made of breathable fabric for storage
DON’T:
– Machine wash or dry clean leather unless specified by manufacturer
– Use harsh chemicals like bleach, ammonia or alcohol-based cleaners
– Apply direct heat to dry leather
– Over-saturate leather with water or cleaning solutions
– Store in plastic bags that trap moisture
– Fold leather coats for long-term storage
– Apply oils or conditioners meant for other purposes
– Use furniture polish or other household products
– Ignore early signs of damage or wear
Following these guidelines will help prevent common issues like cracking and fading. For more specific advice on maintaining leather’s flexibility, review tips for preventing leather coat cracks that focus on proper moisture balance.
When to Call a Professional Leather Cleaner
While many cleaning tasks can be handled at home, some situations require professional expertise:
Scenarios requiring professional cleaning:
– Large or set-in stains that resist home treatment
– Significant color loss or fading
– Deep scratches or gouges in the leather
– Mold infestation throughout the garment
– Vintage or antique leather garments
– Extremely valuable designer pieces
– Strong odors that persist after home treatments
– Water damage that has caused stiffening or warping
To find a reputable leather specialist:
1. Look for cleaners with specific leather certification or training
2. Read reviews focusing on leather garment cleaning
3. Ask for references or examples of previous leather work
4. Inquire about their cleaning methods for your specific leather type
Quality professional leather cleaning typically costs $50-$200 depending on the garment and services needed. While this might seem expensive, it’s often worth the investment for valuable coats or extensive damage.
For those wanting to maintain the rich appearance of dark leather garments, mastering black leather jacket care techniques can help preserve color intensity between professional cleanings.
Frequently Asked Questions About Leather Coat Cleaning
How often should I clean my leather coat?
Full cleaning should only be done 1-2 times per year. Spot cleaning and regular dusting can be done as needed. Over-cleaning can damage leather over time.
Is it safe to use olive oil to condition leather?
No, household oils like olive oil eventually turn rancid and can damage leather. Always use products specifically formulated for leather conditioning.
How can I remove wrinkles from my leather coat?
Hang the coat in a bathroom during a hot shower (not in the shower). The steam will help relax wrinkles. Never iron leather directly.
My leather coat smells musty. How can I remove the odor?
Air it outside on a dry, breezy day. For persistent odors, wipe the lining with a cloth dampened with diluted white vinegar, then air dry completely.
How do I soften leather that has become stiff after cleaning?
Apply a quality leather conditioner, then gently flex the leather as it dries. For severe stiffness, consider a professional leather softening treatment.
Can I use baby wipes on my leather coat?
Most baby wipes contain alcohol or other ingredients that can damage leather. Use only products specifically designed for leather care.
How do I store my leather coat during summer?
Store on a padded hanger in a cool, dry closet away from direct sunlight. Use a breathable garment bag (not plastic). Consider conditioning before storage.
Can I use saddle soap on all leather types?
Saddle soap works well on most finished leathers but should not be used on suede, nubuck, or extremely soft aniline leathers without testing first.
Preventive Care: Maintaining Your Leather Coat Between Cleanings
Regular maintenance significantly reduces the need for deep cleaning and extends your coat’s life:
Weekly maintenance (5 minutes):
– Dust with a soft cloth or brush
– Inspect for new stains or damage
– Hang properly on a padded hanger when not in use
Monthly maintenance:
– Spot-clean small new stains before they set
– Check zippers and buttons for issues
– Gently buff scuffed areas with a soft cloth
Seasonal care:
– Before storage: Clean and condition thoroughly
– During storage: Check monthly for mold or pest issues
– After storage: Air out for 24 hours before wearing
Minor scratches can often be remedied by gently buffing with a clean finger—the natural oils from your skin can help blend small marks on finished leather.
For warm weather storage, cedar blocks or lavender sachets help repel moths and other pests while avoiding chemicals that might damage leather. Never use mothballs with leather garments.
Implementing consistent long-term leather coat care guide practices ensures your quality leather coat from Metro Cloak remains an investment piece that looks great for many years to come.
With proper cleaning and maintenance, a well-crafted leather coat can remain a staple in your wardrobe for decades, developing a rich patina that enhances its character while maintaining its functional protection and timeless style.